

Lake Forest Park Garden Club embraces a love of gardening, promotes environmental stewardship, enhances community beauty, and financially supports charitable, scientific, and educational efforts related to these goals.
Click poster and it will open is a separate window. You will then be able to print or copy it and/or share with your friends.
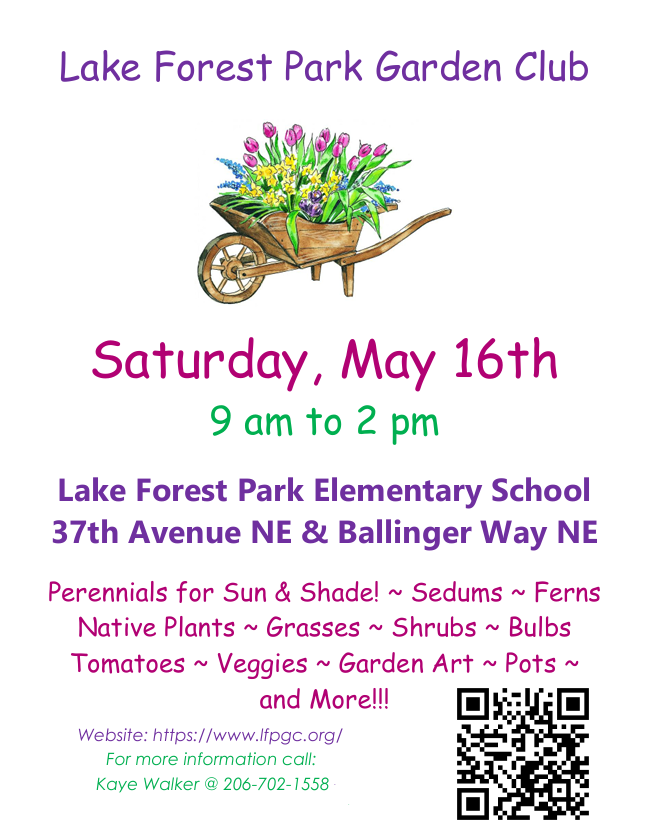
Our annual plant Sale will be held on Saturday, May 16th from 9 am until 2 pm or until we sell out. Find us at Lake Forest Park Elementary School 18500 37th Ave NE,
Lake Forest Park, WA 98155.
Holding our plant sale later than most of the others means we are able to offer more mature potted plants and we may be your last change to shop for those unique plants that you couldn't find elsewhere. We pride ourselves by producing plants not normally available at other local plant sales and they are all "local grown" – fancy coleus, unique vegetables, native and forgotten perennials, pollinators, and now we are offering zone 9 items including the Fuchsia tree which can grow to 10-12 ft tall and our "Tree Dahlia" that can grow to 15 ft in a season. Our members grow vegetable and flower starts and contribute many unusual plants from their yards due to their high demand and suitability for the Pacific Northwest climate. Our plants are locally adapted and will thrive in our area. We also have many pots and planters full of gorgeous flowers for sale at reasonable prices. If you are looking for heritage plants remember that many of the contributors to the sale live in gardens that were established over 100 years ago. They are happy to share their proven plant history. We also usually have a good selection of garden tools and garden art, along with a plethora of decorative pots and planters.
HOW TO DIVIDE PERENNIALS
Before You Begin
Choose the Right Time
-
Early spring, just as shoots begin to emerge, is ideal for most perennials.
-
Fall division works well for spring- and summer-blooming plants.
-
Select a mild day when plants are not stressed. A rainy day is great—though around here, flexibility is key!
Gather Your Tools
-
Sharp, clean garden knife or spade
-
Gardening gloves
-
Clean pots or containers for divisions
-
Thoroughly clean tools to prevent spreading disease between plants.
Water Ahead of Time
-
If conditions are dry, water plants the day before dividing to keep roots hydrated and easier to work with.
-
Please avoid invasive species.
Step-by-Step Division Process
Start with Healthy Plants
-
Divide only strong, well-established plants. Avoid those that appear weak or stressed.
Dig Up the Plant
-
Dig a wide circle around the plant and carefully lift the entire clump.
-
Take care not to damage the roots. Some plants have deeper or more delicate root systems, so research your plant beforehand.
Inspect and Separate
-
Gently shake off excess soil to expose the roots.
-
Look for natural separation points where the plant divides easily into sections.
Divide the Plant
-
Use your hands, a sharp knife, or two garden forks to separate the clump.
-
Each division should have healthy roots and at least two growing points or buds.
-
Discard any dead or woody center sections.
Trim as Needed
-
Trim damaged or overly long roots.
-
Cut back foliage to reduce stress and help the plant adjust after division.
Handle Roots Gently
-
Healthy roots are essential for successful establishment, so treat them with care.
Potting and Aftercare
Replant Divisions
-
Pot each division into a clean container using quality potting soil.
-
Choose a pot size appropriate for the root system.
-
Water thoroughly to settle the soil.
Water and Mulch
-
Keep plants consistently moist for the first few weeks.
-
Apply a light layer of organic mulch to retain moisture and suppress weeds.
Provide Space and Monitor Growth
-
Space pots appropriately to prevent overcrowding.
-
Watch for signs of stress and provide extra care if needed.

The two solo cup method for tomatoes
This produces strong tomato seedlings. (adapts well to other seeds)
What you need:
1 red solo cup (with drainage cuts)
1 red solo cup (with no holes or cuts)
Seed starter mix
Tomato seeds
1. Fill about 1/3rd of the red cup (the one with the drainage cuts) with soil and plant your seeds
2. Put a marble or large pebble inside the bottom of the cup with no holes
3. Water from the bottom by filling the bottom cup up to the marble or pebble. It will wick in the bottom of the red cup with the cuts/slits.
4. Keep under grow lights or in a strong bright window and water as needed.
5. Start feeding a weak fertilizer liquid when true leaves appear.
6. As the plant grows and gets leggy continue adding soil.

Why it works:
This method prevents overwatering, encourages strong roots, reduces transplant shock and is cheap - just a few dollars for several dozen
The cup is tall but not wide, so it doesn't take up much space, and there is a lot of room below for roots to grow downward. It's also much bigger than the typical starter pots, so you can get a better root system established that way. And by layering a second cup on the outside, it works as a plant saucer to retain the water without a mess.
We cannot and do not sell any of the following plants:
https://www.nwcb.wa.gov/noxious-weed-quarantine-list
New list of plants that are not legal to sell in Washington State (as of July 2025)
Common / English Ivy - Hedra helix
Atlantic Ivy / Boston Ivy - Hedra Hibernica
Spotted Touch Me Not - Impatiens capensis
Cape Pondweed - Aponogeton distachyos
Hanging Sedge - Carex pendula
Green Alkenet - Pentaglottis sempervirens
Common Fennel - Foeniculum vulgare (except bulbing fennel)
European Coltsfoot - Tussilago farfara
Herb-Robert - Geranium robertianum
Houndstongue - cynoglossum officinale
Sulfur Cinquefoil - Potentilla recta
Wild basil/basil savory - Clinopodium vulgare
Yellow Nutsedge - Cyperus esculentus
Camelthorn - Alhagi maurorum
Russian Knapweed - Rhaponticum repens
Puncturevine - Tribulus terrestris
Rough Chervil - Chaerophyllum temulum
Turkish Thistle - Carduus cinereus
Palmer's Amaranth - Amaranthus palmeri